Self-tanning products can give your skin a beautiful bronze glow without sun exposure. But sometimes things don’t go as planned, and the result is patchy self tan, dark spots, or streaks on the skin.
Many people search online for how to fix patchy self tan when their color develops unevenly on the arms, legs, or body.
The good news is that most cases of self tan gone wrong can be fixed quickly with the right skincare routine. Because self-tanning pigment sits mainly in the outer layer of the skin, gentle exfoliation can help remove fake tan and smooth uneven areas.
In this guide you will learn:
- why patchy self tan happens
- how to remove self tanner safely
- the best exfoliation routine
- how to fix uneven self tan quickly
- how to prevent patchy tan next time

Why Self Tan Becomes Patchy
Most self-tanning products contain an ingredient called DHA (Dihydroxyacetone). This ingredient reacts with the outer layer of the skin to create the tanning effect.
However, if the skin surface is uneven, the color may develop unevenly as well.
Common causes of patchy self tan include:
- dry or rough skin
- buildup of dead skin cells
- applying too much product in one area
- skipping exfoliation before self tan
- sweating shortly after applying the product
Areas such as elbows, knees, ankles, and wrists often absorb more product because the skin there is thicker and drier.
This is why proper self tan prep is very important before applying tanning products.
The Best 3-Step Routine to Fix Patchy Self Tan
If your self tan gone wrong, the most effective way to fix it is to follow a simple three-step routine.
This method helps loosen the tanning pigment first, then gently remove the uneven color.
Step 1: Loosen the Self-Tan Pigment
The first step in fixing patchy self tan is to break down the tanning pigment.
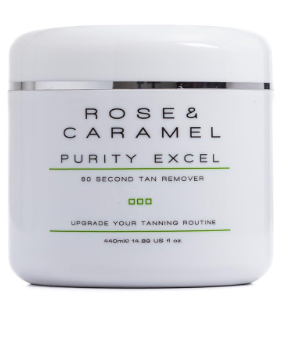
Many people use a tan remover or exfoliating body wash containing ingredients like:
- salicylic acid
- glycolic acid
- fruit enzymes
These ingredients help dissolve leftover DHA pigment from tanning products and make it easier to remove fake tan.
https://amzn.to/3P4caKo – Tan remover
Allow the product to sit on the skin for several minutes according to the instructions before showering.
Step 2: Gently Exfoliate the Skin
Once the pigment starts loosening, the next step is gentle exfoliation.
Exfoliation removes the outer layer of dead skin cells where the uneven tan sits.
One of the easiest ways to do this is by exfoliating during a warm shower.
Many people use natural exfoliating tools such as:
👉 Glowwear Egyptian Loofah
(Coming soon)
Natural loofah fibers help lift loosened pigment and remove dead skin while remaining gentle on the skin.
Unlike harsh scrubs, loofahs allow controlled exfoliation that smooths uneven areas without damaging the skin barrier.
How to Exfoliate to Remove Patchy Self Tan
For best results, follow these steps:
- Take a warm shower for 5–10 minutes
- Wet the exfoliating tool thoroughly
- Massage the skin using gentle circular motions
- Focus on darker or streaky areas
Pay special attention to:
- elbows
- knees
- ankles
- wrists
Time required: about 5–8 minutes
In many cases, mild patchy self tan improves significantly after this step.
Step 3: Moisturize the Skin
After exfoliating, it’s important to restore hydration to the skin.
Exfoliation removes dead skin cells but can also temporarily dry the skin.
Applying a moisturizer helps:
- restore the skin barrier
- smooth rough patches
- prepare the skin for future tanning
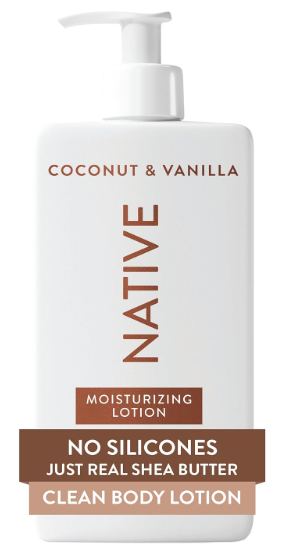
Look for moisturizers containing:
- hyaluronic acid
- ceramides
- shea butter
- aloe vera
Well-hydrated skin also helps prevent uneven tanning in the future.
How Long Does It Take to Remove Fake Tan?
The time needed depends on how dark or uneven the tan is.
Typical results:
Light patchiness
→ improved after one shower
Moderate uneven tan
→ 1–2 days
Heavy or stubborn tan
→ 2–3 days with repeated gentle exfoliation
The key is consistent but gentle exfoliation, not aggressive scrubbing.
Areas Where Patchy Self Tan Appears Most
Uneven self tan commonly appears on areas where the skin is thicker or drier.
These include:
- elbows
- knees
- ankles
- hands
- feet
- neck
Regular exfoliation helps prevent tanning pigment from collecting in these areas.
How to Prevent Patchy Self Tan Next Time
Preventing uneven tan is easier than fixing it.
Proper self tan prep helps create a smooth skin surface so the color develops evenly.
A good preparation routine includes:
- Shower and cleanse the skin
- Perform exfoliation before self tan
- Moisturize dry areas
- Apply self-tan evenly
Many people use natural exfoliation tools like an Egyptian loofah as part of their preparation routine.
( Glowwear Loofah coming soon)
This helps remove dead skin cells and create a smooth base for tanning products.
Common Mistakes That Cause Patchy Self Tan
Avoid these mistakes to improve tanning results:
- applying self tan on dry skin
- skipping exfoliation
- using too much product
- not moisturizing afterward
- sweating immediately after application
Correcting these habits can significantly improve your tanning results.
Final Thoughts
If you’re dealing with patchy self tan or a self tan gone wrong, don’t worry — the problem is usually easy to fix.
The most effective method is:
- loosen the tanning pigment
- gently exfoliate the skin
- moisturize afterward
This routine helps remove fake tan safely and restore smooth, even skin.
Using gentle exfoliation tools such as a natural Egyptian loofah can help lift loosened pigment and keep the skin healthy.
With proper preparation and regular exfoliation, future self-tanning results will look much smoother and more natural.
Pingback: 7 Fake Tan Mistakes That Cause Patchy Skin (And How to Fix Them Fast) - My Glow Routine