Getting a natural-looking tan is something many American women want — especially before summer vacations, beach trips, or special events. A smooth golden glow can make the skin look healthier, more radiant, and more even.
But many people make mistakes during the tanning process. The result can be patchy tan, streaks, uneven color, or dark spots on the skin.
The truth is that a beautiful tan does not start with the tanning product itself. It actually starts before the tanning step — with the correct skin preparation routine.
In this guide, we will explain:
• How tanning works
• The best self tanning routine
• How to prepare skin before tanning
• Products commonly used in the U.S. tanning routine
• How exfoliation with an Egyptian loofah improves tanning results
What Is Tanning and How Does It Work?
Tanning refers to darkening the skin tone to create a bronzed appearance. There are two main ways people tan their skin.
1. Sun Tanning
Sun tanning occurs when skin is exposed to ultraviolet (UV) rays from the sun. The skin produces melanin, a pigment that darkens the skin to protect it from UV damage.
While sun tanning is natural, dermatologists warn that too much sun exposure can lead to:
• premature skin aging
• sunburn
• hyperpigmentation
• increased risk of skin cancer
Because of this, many people now prefer self tanning products instead of sun tanning.
2. Self Tanning (Sunless Tanning)
Self tanning products are very popular in the United States. These products give the skin a bronzed color without sun exposure.
Most self tanners contain a safe ingredient called DHA (Dihydroxyacetone).
DHA reacts with amino acids in the top layer of the skin and creates a temporary darker tone that looks like a natural tan.
The color usually appears within 4–8 hours and lasts about 5–7 days depending on skin care habits.
Why Skin Preparation Is the Most Important Step
One of the most common mistakes people make is applying self tanner directly on the skin without preparation.
This often causes:
• patchy tan
• dark knees and elbows
• streaks
• uneven color
That’s why beauty experts always recommend a pre-tan exfoliation routine.
Exfoliation removes dead skin cells and allows the tanning product to spread evenly across the skin.
This is where natural exfoliation tools like the Egyptian loofah become extremely useful.
👉 Discover the Glowwear Egyptian Loofah here
Coming soon
Step 1: Exfoliation Before Tanning
Search trends in the U.S. show that many people look for:
- exfoliation before self tanning
- how to prep skin before tanning
- best exfoliation for self tanner
Exfoliation is the first step in any tanning routine.
Dead skin cells create rough texture on the surface of the skin. If tanning products are applied on this layer, the color will stick unevenly.
Using a natural Egyptian loofah helps gently remove this layer and smooth the skin.
Benefits of exfoliating before tanning:
✔ removes dead skin buildup
✔ helps tanning products apply evenly
✔ prevents patchy tan
✔ improves skin texture
✔ makes tan last longer
Many dermatology experts recommend exfoliating 24 hours before applying self tanner.
👉 Shop Glowwear Egyptian Loofah
Coming soon
Step 2: Clean the Skin with a Gentle Body Wash
After exfoliation, the skin should be cleaned with a gentle body wash to remove oils and residue.
Many American skincare routines include body washes containing ingredients like:
• salicylic acid
• tea tree oil
• gentle exfoliating acids
These ingredients help clean pores and reduce skin buildup.
Recommended product example:
Salicylic Acid Body Wash
https://amzn.to/4b9Yntj
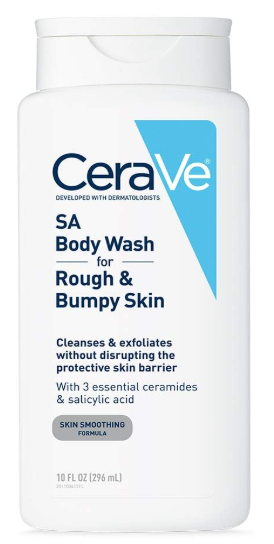
This type of cleanser helps prevent clogged pores and prepares the skin for tanning products.
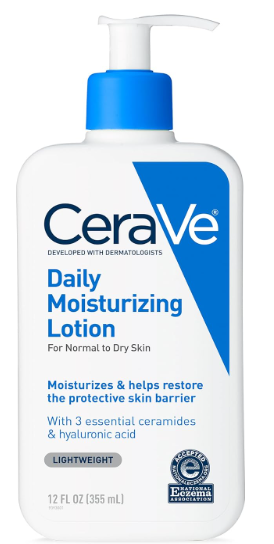
Step 3: Moisturize Dry Areas
Before applying self tanner, moisturizing certain areas is important.
Dry skin absorbs more tanning product and can turn darker than the rest of the body.
Common dry areas include:
• elbows
• knees
• ankles
• wrists
• hands
Applying a light moisturizer to these areas helps create an even tan.
Recommended moisturizer:
Lightweight Body Lotion
https://amzn.to/4rfjiRy
Step 4: Apply the Self Tanner
Once the skin is clean, exfoliated, and moisturized, the tanning product can be applied.
Popular self tanning products include:
• self tanning mousse
• tanning lotion
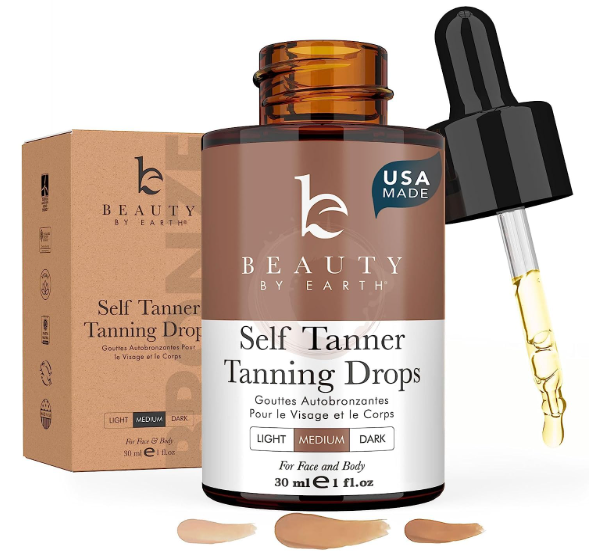
• tanning drops
• tanning sprays
Many people in the U.S. prefer self tanning mousse because it spreads easily and dries quickly.
Recommended product:
Self Tanning Mousse
https://amzn.to/4rY8JDR
Use a tanning mitt to apply the product in circular motions for the most even coverage.
Start from the legs and work upward toward the arms and shoulders.
Avoid applying too much product on elbows, knees, and hands.
Step 5: Allow the Tan to Develop
After applying the tanning product, the skin needs time for the color to develop.
Most self tanning products take 4–8 hours to develop fully.
During this time:
• avoid water
• avoid sweating
• wear loose clothing
After the development time, you can shower to remove any excess product.
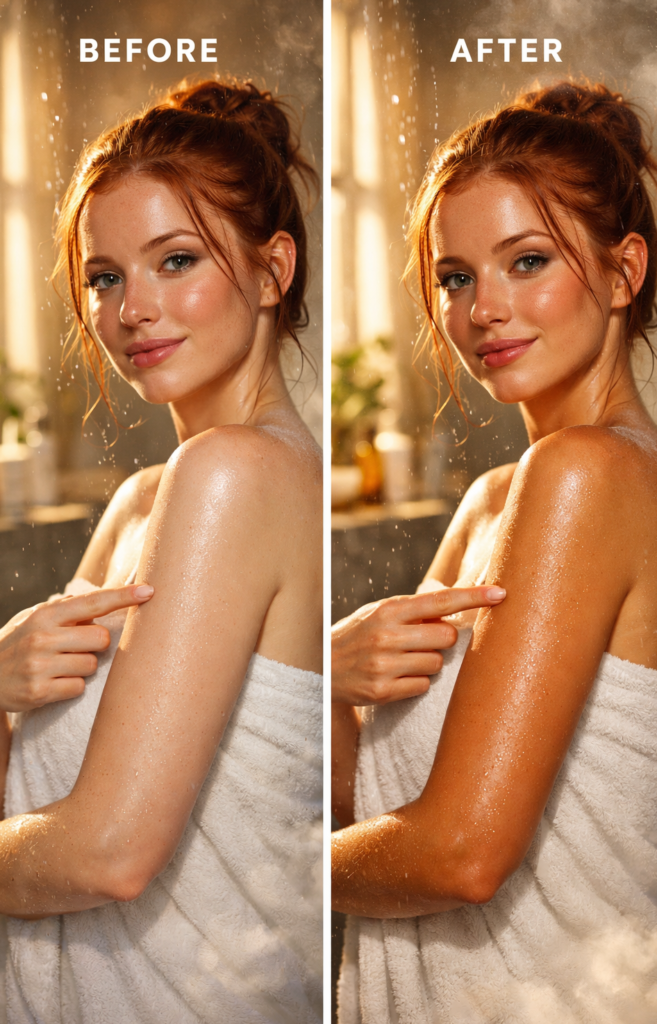
The result should be a natural-looking golden glow.
Common Tanning Problems and How to Fix Them
Even with careful preparation, tanning problems can sometimes occur.
Patchy Tan
A patchy tan happens when tanning product attaches unevenly to the skin.
This usually happens because of poor exfoliation.
Using an Egyptian loofah regularly helps smooth the skin and prevent this issue.
Dark Spots After Tanning
Dark areas often appear on:
• elbows
• knees
• ankles
This can happen when dry skin absorbs too much tanning product.
Exfoliation and proper moisturizing help prevent this problem.
Tan Fading Too Quickly
Self tan usually fades within a week.
To make it last longer:
• moisturize daily
• avoid harsh scrubs
• gently exfoliate every few days
Natural exfoliation with a loofah helps the tan fade evenly instead of becoming patchy.
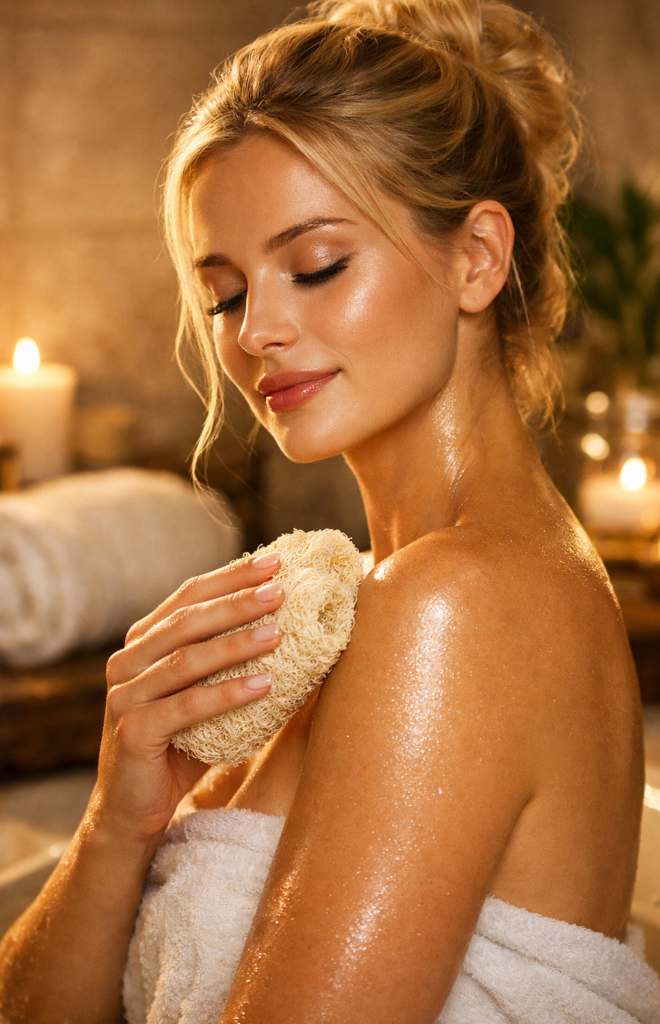
Why Many Skincare Routines Now Include Egyptian Loofah
Recently, many people have started switching from plastic shower puffs to natural exfoliation tools.
Egyptian loofah is made from dried plant fibers and has been used for generations as a natural skin exfoliator.
Benefits include:
✔ natural exfoliation
✔ eco-friendly alternative
✔ improves circulation
✔ smooths rough skin
✔ prepares skin for tanning
Many skincare experts recommend using a loofah 2–3 times per week as part of a body care routine.
👉 Discover the Glowwear Egyptian Loofah
coming soon
The Simple 3-Step Routine for a Perfect Tan
To summarize, achieving a smooth and natural tan is easier when you follow a simple routine.
Step 1 – Exfoliate
Use an Egyptian loofah to remove dead skin and smooth the skin surface.
Step 2 – Cleanse
Wash the skin with a gentle body cleanser.
Step 3 – Apply Self Tanner
Use a tanning mousse or lotion evenly across the skin.
Following this routine helps create a tan that looks natural, smooth, and long lasting.
Final Thoughts
Getting the perfect tan is not about applying more tanning products. It’s about preparing the skin correctly.
When skin is properly exfoliated and hydrated, tanning products work much better and produce a smooth, even glow.
A simple routine that includes regular exfoliation with a natural Egyptian loofah can dramatically improve tanning results and prevent common problems like patchy tan or streaks.
If you want smoother skin and better tanning results, adding this step to your routine can make a noticeable difference.
👉 Explore Glowwear Egyptian Loofah
coming soon